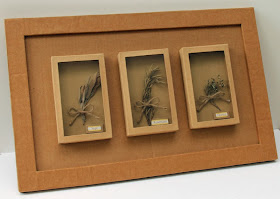
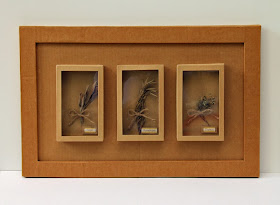
My creativity is mostly prompted by necessity. With no spare finances to purchase shadow boxes to encase some dried
herbs I wanted to display, I resorted to making my own. My medium of choice
was what I had plenty of: cardboard and brown paper.
First, I cut and glued cardboard pieces together to form small rectangular
box frames and wrapped them with brown paper to cover the seams. For the window
panes of the boxes, I used clear hard plastic cut out from product packaging that I
had stored, thanks to my packrat foresight.
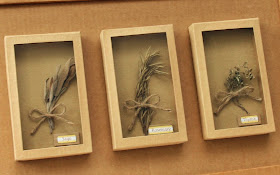
Then I prepared the backing for the shadow boxes. I printed out the
names of the herbs and mounted them on tiny pieces of cardboard to serve as
nameplates. Then I punched two holes in the middle of the backing, strung twine
through, and tied down (with a nice ribbon knot) a bunch of the dried herbs I
wanted to showcase.
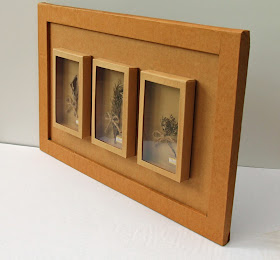
The final assembly was just a matter of gluing the backing to the
shadow box frame, and gluing the finished box to the main frame that I prepared
also with cardboard and brown paper. Add a twine hanger to the back, and there
it is – all natural, very lightweight, and entirely handmade.


Would you be able to make one now and do the step by step?
ReplyDeleteI have several projects in the pipeline but I could squeeze it in if you'd let me know why you ask. Email me, please: rubybayan@gmail.com
ReplyDelete