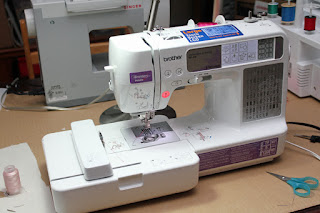
Since the Brother SE400 Enthusiast arrived a couple of weeks ago, I
have been marveling at what it can do. (Follow the link to the Brother site for the product features.)
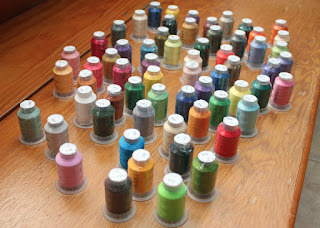
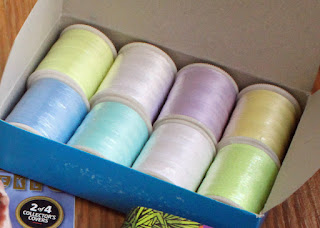
I also bought a ton of discounted embroidery thread from eBay. I got the 63 Brother colors, a glow-in-the-dark set, and even an all-purpose fancy colors pack. And a rack too.
I know how to sew, but I guess I was just so fascinated with the automatic
embroidery that on my second design I didn’t notice that the thread had snagged
– it tugged on the needle as it embroidered, then I heard a *snap* and the machine stopped cold. I had to use pliers to pry the broken tip from the bobbin case.
Then, when I worked on my third design, I didn’t notice that the cloth
had folded under the holding frame, so the machine stitched over two layers of
material. Duh.
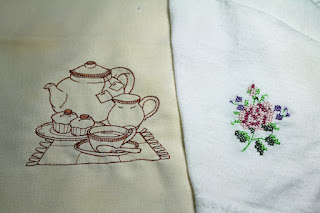
Of course, I had to try the monogram function on a face towel. It
worked. Now I know I have the capability to make monogrammed whatever projects
as gifts and giveaways. Ha!
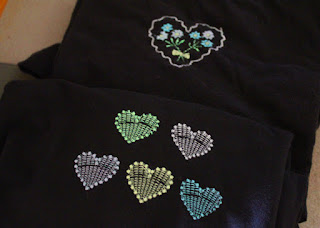
And here are the black t-shirts I embroidered with glow-in-the-dark
thread. Not bad for a first try embroidering on t-shirts. (I figured from the frumpy results that the sticky back stabilizer is essential for t-shirt embroidery.)
Now let me share the lessons I learned from my exploratory phase:
- Use the right stabilizer. The stabilizer is what keeps the material steady and firm. For t-shirts and other stretchable materials, the sticky stabilizer is best – the fabric remains stiff against the needle action. Also, you can stick the t-shirt directly on the stabilizer, so you don’t have to trap the shirt in the holding frame, which tends to leave a mark (they call it “frame burn”).
- Double check that the threads (needle thread and bobbin thread) are correctly threaded and not snagged anywhere. Or suffer the consequences.
- Glow-in-the-dark threads are only cool when the design is heavy, thick, or large. Otherwise, they won’t glow bright enough to be noticeable in the dark.
- Before embarking on a critical project, make sure you have the right thread and needle for the material. And enough spares of both.
- Do a trial run on scrap material so that you can make the necessary adjustments before working on the actual project.
- RTFM (read the f*ing manual). It helps.
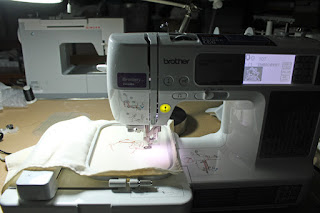
Here’s my SE400 doing its thing. You really just have to set it up, push
the button, and wait for it to finish. And you’re done! Like magic!
The machine has a number of built-in designs and fonts, but a wide variety are available online, for sale and for free. Some folks make
a living creating machine embroidery designs. Maybe someday I’ll look into
that.




No comments:
Post a Comment