June 17, 2014

How to Freeze Grapes for Smoothies

Grapes are a staple in our morning smoothie because their sweetness neutralizes the “green” taste of the veggies. I chose to use frozen grapes to cool the smoothie just right. After a few trials and errors, I discovered the best way to freeze them.

The first thing I do is wash the bunch of grapes. Then I pick each grape from the vine so that I won’t have to deal with the stems later on. I roll them on a paper towel to dry them. Then I grab a colander and arrange them very nicely in one layer.

Freezing grapes in a colander.

Then I place the arrangement in the freezer. The colander helps freeze the grapes evenly and quickly. After a few hours, I transfer the grapes to a container that will reside in the freezer until all the fruits are consumed.


Frozen grapes for smoothies.

I don’t bother to put the frozen grapes in a zipper bag because they don’t last too long in the freezer anyway -- in about a couple of weeks, they’d have all been added to our smoothies. Every morning, I just quickly grab a handful to add to our drink.

Of course, I’ve tried freezing grapes in bunches – stems and vines together. But when I’m picking the fruits to put in my smoothie, I have to fumble with pulling out all the frozen little stems, and in the early hours of the morning, I don’t particularly appreciate cold fingertips.

I’ve also tried freezing individual grapes on a baking sheet and in a plastic container. They work fine but I find the colander trick the neatest yet. 

June 7, 2014

How to Slice Cantaloupe into Chunks

I remember growing up detesting one and only one dessert fruit – the cantaloupe.  In the Philippines, we call it melon (accent on the “lon”). Somehow I couldn’t tolerate the taste and texture, and I didn’t know why.

Then a friend convinced me to try the melon juice – sweetened cold water infused with melon flesh delicately grated from the fruit using a tool that creates long orange “worm” strips (I’ll write about that next time).  After I enjoyed that wonderfully refreshing and tasty drink, the cantaloupe and I became buddies.

Here in the US, cantaloupes are available in groceries as whole fruits, shrink-wrapped slices with the skin on, and chunks in clamshell containers. Naturally, they are most expensive when already prepared bite-size, ready to eat; the price of a small bowl of chunks is sometimes higher than that of a whole fresh harvest fruit.

So, whenever I feel prudent, I ignore the chunks, grab a whole fruit, and set my mind to slicing the cantaloupe myself. It’s really quite easy. Let me show you.

1. Get a whole cantaloupe. You will know it’s ripe and sweet when the skin is starting to get wrinkly and the fruit is giving off a sweet aroma. Grab a cutting board, kitchen knife, spoon, container for the seeds, and container for the chunks.  


Get a whole cantaloupe.

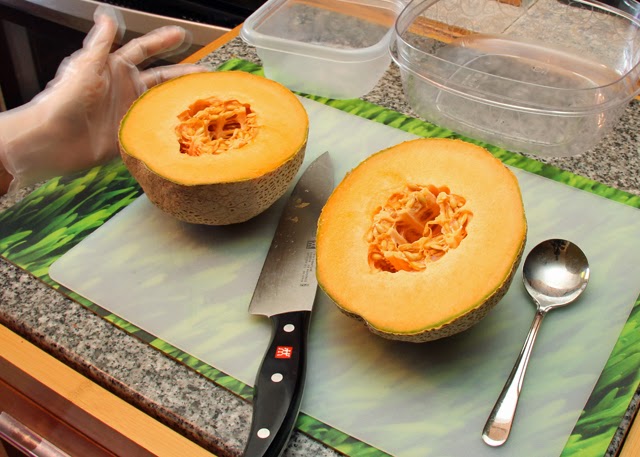
2. Slice the fruit in half. It doesn’t matter if it’s lengthwise or crosswise, because the fruit is generally round. I prefer to slice crosswise, but that’s just me.

Slice the cantaloupe in half.

3. Scoop out the seeds and fibrous material from the core of the fruit.

Scoop out the cantaloupe seeds.

4. Lay the half on the cutting board like an upside-down bowl. Slice off the skin by working from the top and down the sides.

Peel off the skin.

Peeled cantaloupe.

5. Make vertical cuts, about an inch wide, across the skinned half fruit.

Slice the cantaloupe.

6. Follow with 1-inch perpendicular cuts to create chunks. They won’t be the same sizes but you can follow-up with quick cuts to make the big chunks smaller.

Slice the cantaloupe into chunks.


Slice the cantaloupe into chunks.

Et voila! Bon appetit!

Cantaloupe chunks.


June 4, 2014

How to Slice Watermelon into Chunks

I grew up feasting on watermelon the old-fashioned way: sinking my teeth (and face!) into a freshly sliced wedge of that crunchy, cool, and juicy fruit (it’s also a vegetable) with its sugary-sweet nectar dripping down my chin, neck, and elbows! Slurp!

When I moved to the States, watermelon became a delicacy, presented as chunks sealed in clamshell packs at the supermarket. You need to use a fork (or tiny skewer) to eat it. Where’s the fun in that?

But yes, forking watermelon chunks makes sense these days because sticky hands don’t go well with our ubiquitous handheld devices. The downside of buying prepared watermelon is you pay a premium for the labor and packaging.

How about saving a bundle by buying a whole watermelon and spending a few minutes slicing it into chunks? I promise, it only takes a few minutes and you’ll have a big bowl of chunks you and your friends can conveniently fork into while you’re playing video or board games!

Let’s start.

1. Buy a whole watermelon – the cheapest option. It’s going to be heavy, so plan ahead. If you won’t cut the entire fruit into chunks, you will need space in the fridge to store the uncut portion.

Watermelons

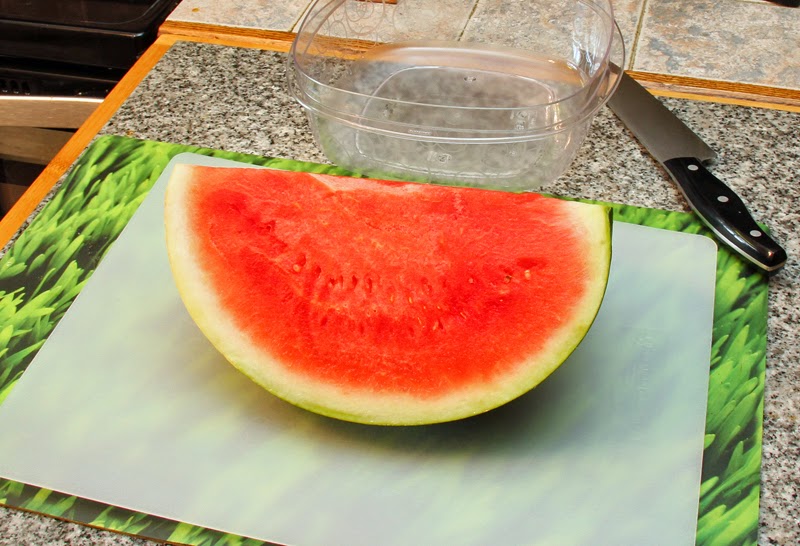
2. Slice the watermelon into quarters (some places sell watermelon quarters – you see the flesh and you don’t have to deal with a huge fruit). Work with a quarter at a time, unless you’re ready to consume the prepared chunks within 3-5 days (they get soggy and taste weird after a week).

Slice watermelon into quarters

3. Lay the quarter with the skin on top, away from you – it makes for easier, more stable cutting rather than if the skin were underneath. Trust me I’ve tried it all sorts of ways.

Slice watermelons into chunks

4. Make vertical cuts about an inch thick. Use a large kitchen knife to help with cutting through the skin. When done, switch to a paring knife and ready the container for the chunks.

Slice watermelons into chunks

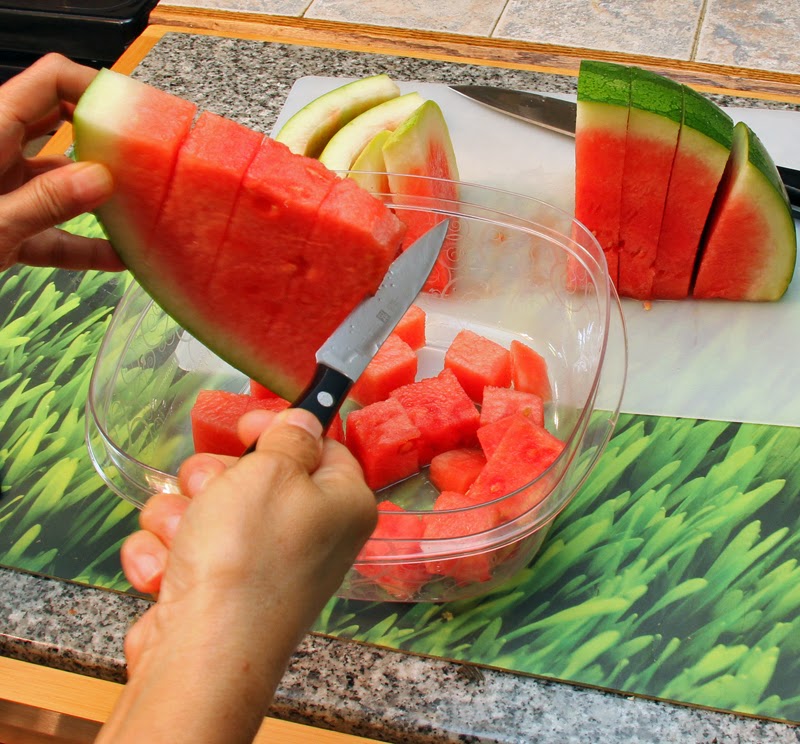
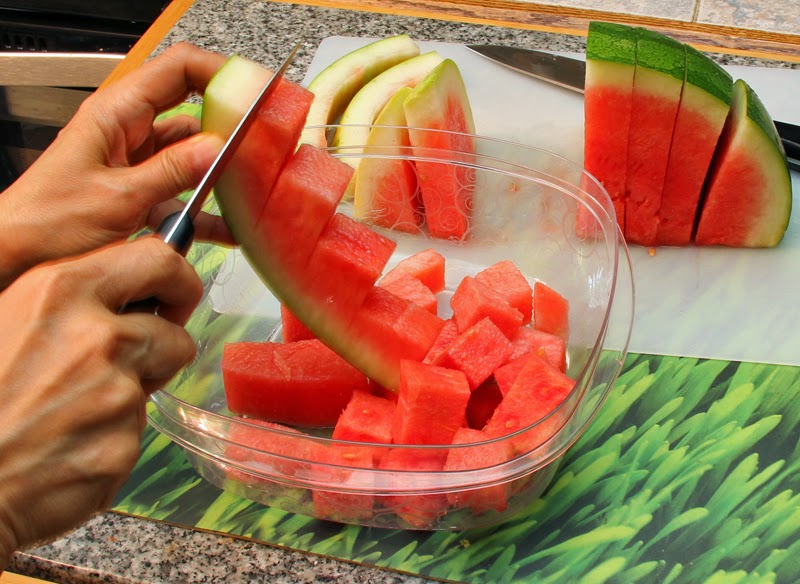
5. Pick up a slice and cut the flesh vertically about an inch thick, down to where the flesh meets the inside of the skin.       

Slice watermelons into chunks

6. Make perpendicular cuts, also an inch thick, letting the chunks drop into the container.

Slice watermelons into chunks

Slice watermelons into chunks

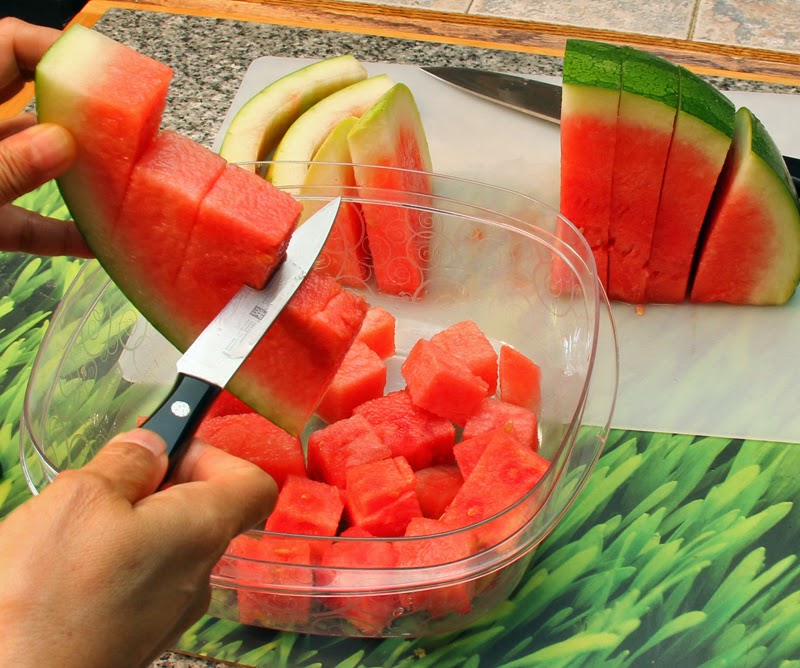
7. Cut off the remainder of the flesh by running the knife from the top to the bottom of the slice, along the edge of the skin. Be careful not to nick your fingers!

Slice watermelons into chunks

Slice watermelons into chunks

Do the same with the rest of the slices, and there you have it. Look at how much a quarter of a regular watermelon yields! And no sticky chin!

Watermelon chunks