Showing posts with label cardboard. Show all posts

October 31, 2015

Autumn Leaves Lamp Project

“We need a lamp over this coffee station,” my husband said back in 2003. Rather than run out to a home improvement store, I took it on as a DIY challenge.

I did a quick inventory of my crafts materials stash and decided I would use the fall leaves I had gathered from the Blue Ridge Parkway, North Carolina, the previous autumn season. Three types of big maple leaves will be excellent for the lamp design I had in mind.

This was the lighting solution I created back then, hung above our apartment’s coffee station. It served as a task light as well as a mood light for our nighttime activities.

Autumn Leaves Lamp over coffee station

Our apartment’s wall décor evolved over the years, but the lamp remained a fixture.

Autumn Leaves Lamp over coffee station

When we moved to our new home in 2007, the lamp became a nook light in the living room.
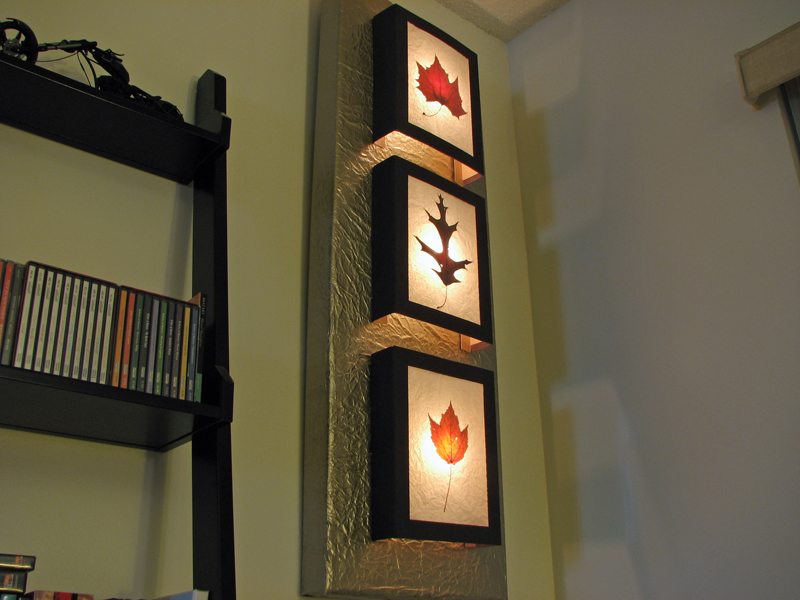
Autumn Leaves Lamp as a nook light

Autumn Leaves Lamp as a nook light

In 2009, we transferred it from the living room to the bedroom, where it became our nightlight until we moved overseas in early 2015.

Autumn Leaves Lamp as a nightlight

Because it would be impractical to ship the lamp halfway across the planet, and getting rid of the leaves was out of the question, I decided to dismantle the lamp and transport the three leaf panels.

Last week, at about the same time I picked up these fallen maple leaves 13 years ago, I built the lamp again. It hangs in its new location in our bedroom, to continue to serve as our nightlight for many more years.    

Autumn Leaves Lamp as a nightlight

Here’s a quick overview of how I made the leaf lamp:

Each pressed leaf is white-glued between plain white tissue paper and a transparent sheet protector. This sandwich is framed in cardboard, folded so that there’s a 2-inch tab to elevate the leaf panel from the base. Slip-in tabs attach the panels to the baseboard without adhesive.

Autumn Leaves Lamp leaf panels

Autumn Leaves Lamp

The baseboard is a sturdy recycled cardboard folded and taped to form a box-frame that’s hollow in the back. I cut slits on the baseboard to coincide with the slip-in tabs of the leaf panels.

Autumn Leaves Lamp baseboard

The first time around, I used crumpled gold gift wrap to cover the cardboard base. This time I painted the baseboard with a metallic bronze shade to jibe with the brownish leaves.

Autumn Leaves Lamp baseboard

The electrical elements are the basic wire, switch, plug, sockets, and lightbulbs. The lighting setup uses the traditional parallel wiring. The electrical is taped to the back of the box-frame, with each light sticking out through the cardboard base, centered behind each leaf.

Autumn Leaves Lamp electricals

Autumn Leaves Lamp lights

Autumn Leaves Lamp

These autumn leaves have been with us since the fall of 2002. And it looks like they will stay with us for much longer. That’s rather impressive.


April 24, 2015

Cardboard Spice Rack #3

When you move into a new place, you don’t always have the amenities you’re used to. In my case, our new residence has no spice rack. Nowhere to organize my spices! It does have a blank wall above the sink, which is the only open space available in our very conservative condo-type kitchen area. I figured it’s the best place to install another handcrafted cardboard spice rack (I had created two before – one for our old small apartment in Orlando, another for a friend).

I have an inordinate (wow, “inordinate”) amount of cardboard, aka moving boxes, so this simple shelving project would make a teeny tiny dent on my stash.


Measure the wall, estimate the spice container sizes, cut up the cardboard, fire up the glue gun, splash on some leftover paint, and there it is: my third cardboard spice rack of all time.


Recycled cardboard project

Preparing the spice rack frame

Painting the spice rack

Mounted cardboard spice rack.

May 31, 2014

Cardboard Shadow Box Project

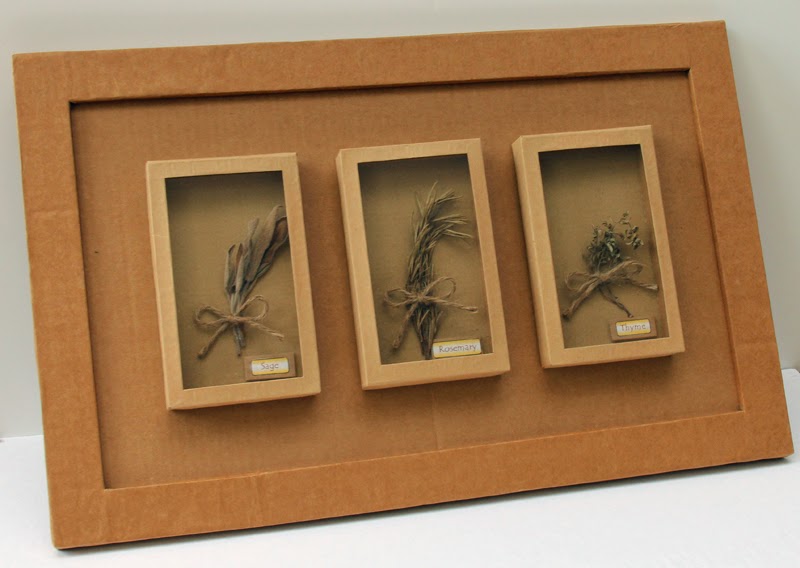
My creativity is mostly prompted by necessity. With no spare finances to purchase shadow boxes to encase some dried herbs I wanted to display, I resorted to making my own. My medium of choice was what I had plenty of: cardboard and brown paper.

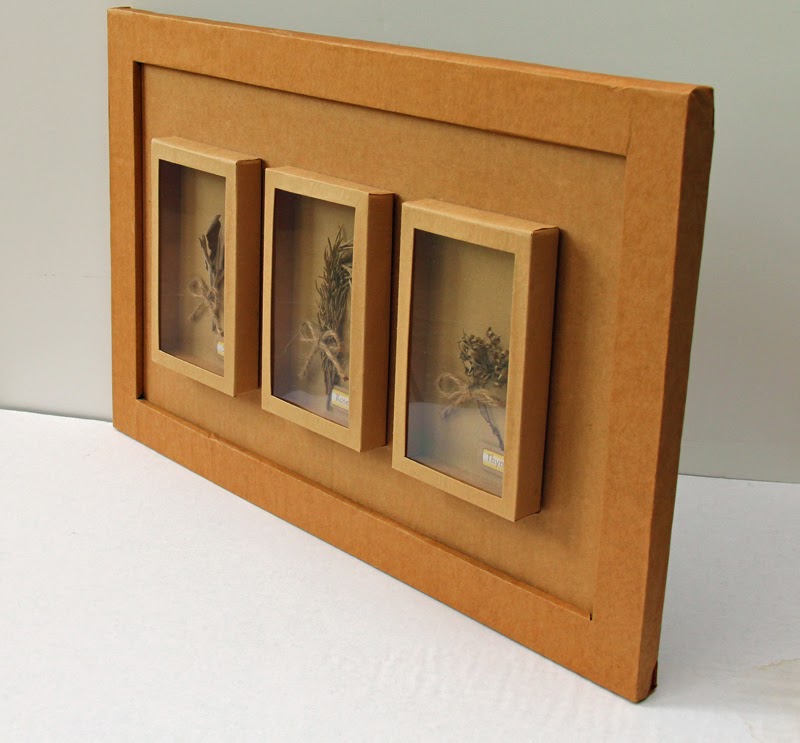
First, I cut and glued cardboard pieces together to form small rectangular box frames and wrapped them with brown paper to cover the seams. For the window panes of the boxes, I used clear hard plastic cut out from product packaging that I had stored, thanks to my packrat foresight.

Cardboard Shadow Box

Then I prepared the backing for the shadow boxes. I printed out the names of the herbs and mounted them on tiny pieces of cardboard to serve as nameplates. Then I punched two holes in the middle of the backing, strung twine through, and tied down (with a nice ribbon knot) a bunch of the dried herbs I wanted to showcase.

Cardboard Shadow Box

Cardboard Shadow Box

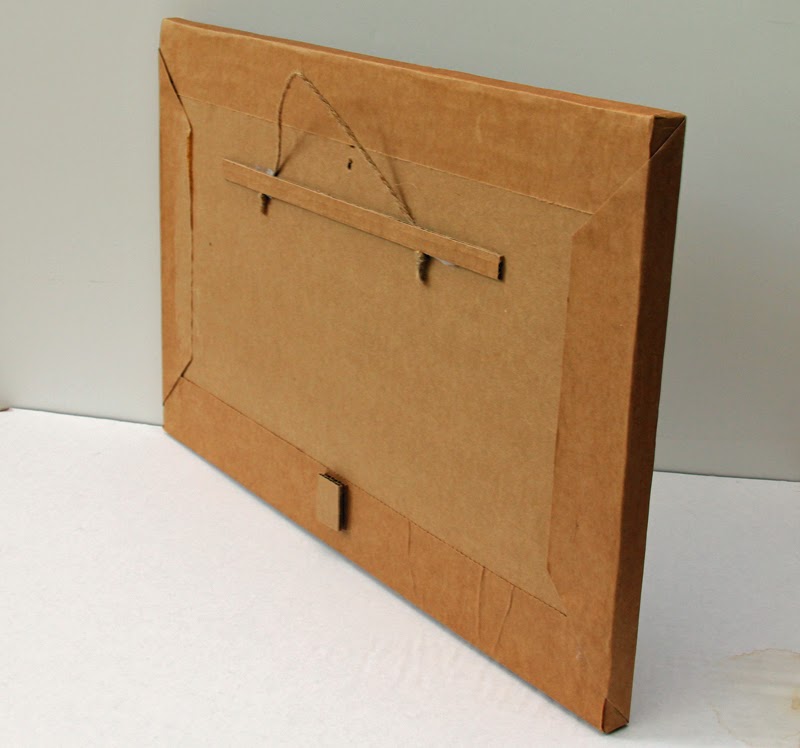
The final assembly was just a matter of gluing the backing to the shadow box frame, and gluing the finished box to the main frame that I prepared also with cardboard and brown paper. Add a twine hanger to the back, and there it is – all natural, very lightweight, and entirely handmade.

Cardboard Shadow Box - back

Cardboard Shadow Box for showcasing dried herbs

I took these pictures a few days ago, but I made the shadow box back in 2002 (which is why there are no step-by-step build photos). The herbs look old and droopy now but the presentation is still good.