Am I evolving into a mixed media artist? Certainly felt like it when I
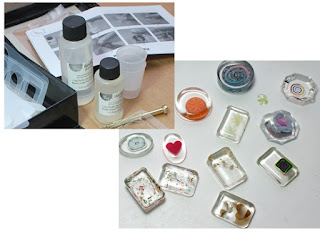
got my first resin casting kit a few weeks ago. Creations with polymer clay and resin – should be
fun, right? I had to give it a try. Throw in the Hobbit theme, and voila!
For those curious about how I did it, here’s the story.
First, let me share my first-try pieces with resin. Not bad. The
process is easy enough.
Suddenly, I had this design in my head of a Hobbit-inspired bracelet combining polymer clay, resin, and cord knotting. Since
there would be 12, no, 13 pieces, each element had to be small enough to
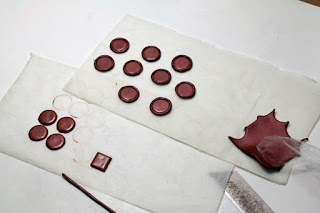
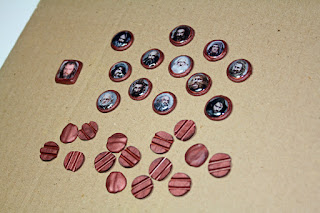
complete a bracelet that wouldn’t be too bulky. I started making circles with
polymer clay. Bake clay, then on to the next step.
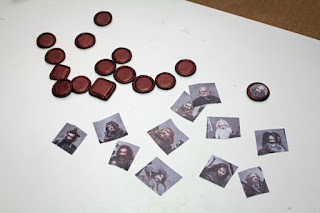
I had printed out a photo of the dwarves when I first started making
Thorin’s scalemail armor, so that would be the source of my bracelet photos.
Long story short, I prepped the dwarf faces, glued them onto the round
setting, sealed them with Mod Podge (this step is essential because without the
seal, the resin will eat up the photo), and delicately covered each photo with resin
one drop at a time.
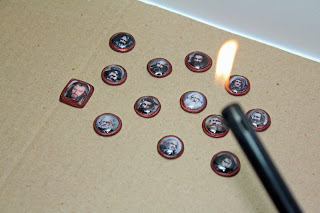
No matter how slowly you stir the resin mixture, bubbles will appear in
the pour. So I had to tend to the pieces for a few hours, checking to see if
bubbles are forming.
To remove the bubbles, I used a butane lighter. I just swiped the flame
very quickly a few inches over the bubbly piece to create enough heat to pop the
bubbles. Some crafters blow through a straw, but that’s tedious (and your breath
moisture could create droplets that will end up on the piece); others use a
heat gun (which I don’t have) or a hair dryer (which some don’t recommend
because the air flow is hard to control and it could kick up dust/debris that
will stick to the piece).
While the resin was curing (this is the toughest part for me -- the resin requires two days to harden), I molded the back pieces – the thingies
that would help me string the bracelet. Nothing fancy, just has to do the job. Baked, then after the resin hardened, glued them on.
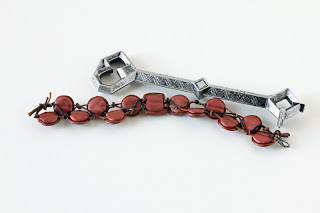
It was a little tricky knotting the band of dwarves but I got it
together. And here’s the knotting effort:
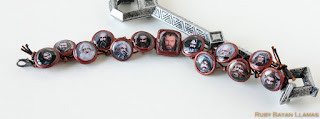
And the finished product. Who can tell me why my OCD is nudging me to redo
the final step?






No comments:
Post a Comment