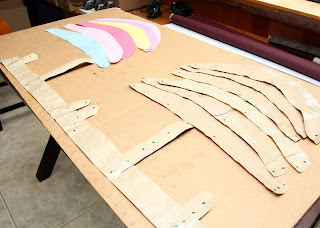
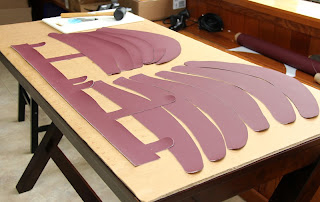
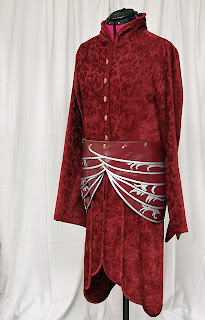
The hip armor was my next challenge. Again, I’m thankful for
the dress form because without it, I would not have been able to do the math on
how to curve those plates around the hips and meet up in the back.
I saw the pattern that was posted online, but I still wanted
to do it my way. So my paper pattern is different. Mine has a belt and tabs
hanging down to serve are posts for the lames/plates. It was crucial that the
pattern is accurate, all the way down to the location of the stud holes.
Then I cut the vinyl and punched the holes.
Then I made the silver clay trim and swirl designs. Yup, a lot of clay work.
Then I laid out the swirls, superglued them in place, and
painted on the Mod Podge.
Hammer the pieces together, and there you are!
What’s not shown in the photos is I attached a belt (also
using studs) to the waist of the hip armor assembly. It closes with a buckle in
the back.


No comments:
Post a Comment